


Guide
Map Callouts: Anubis
Have you had the chance to play some Anubis yet but you don't know how to properly call on this map? This article will provide you all the common callouts on this map!
Written by Marcel
Anubis Callouts

Overview of the Map
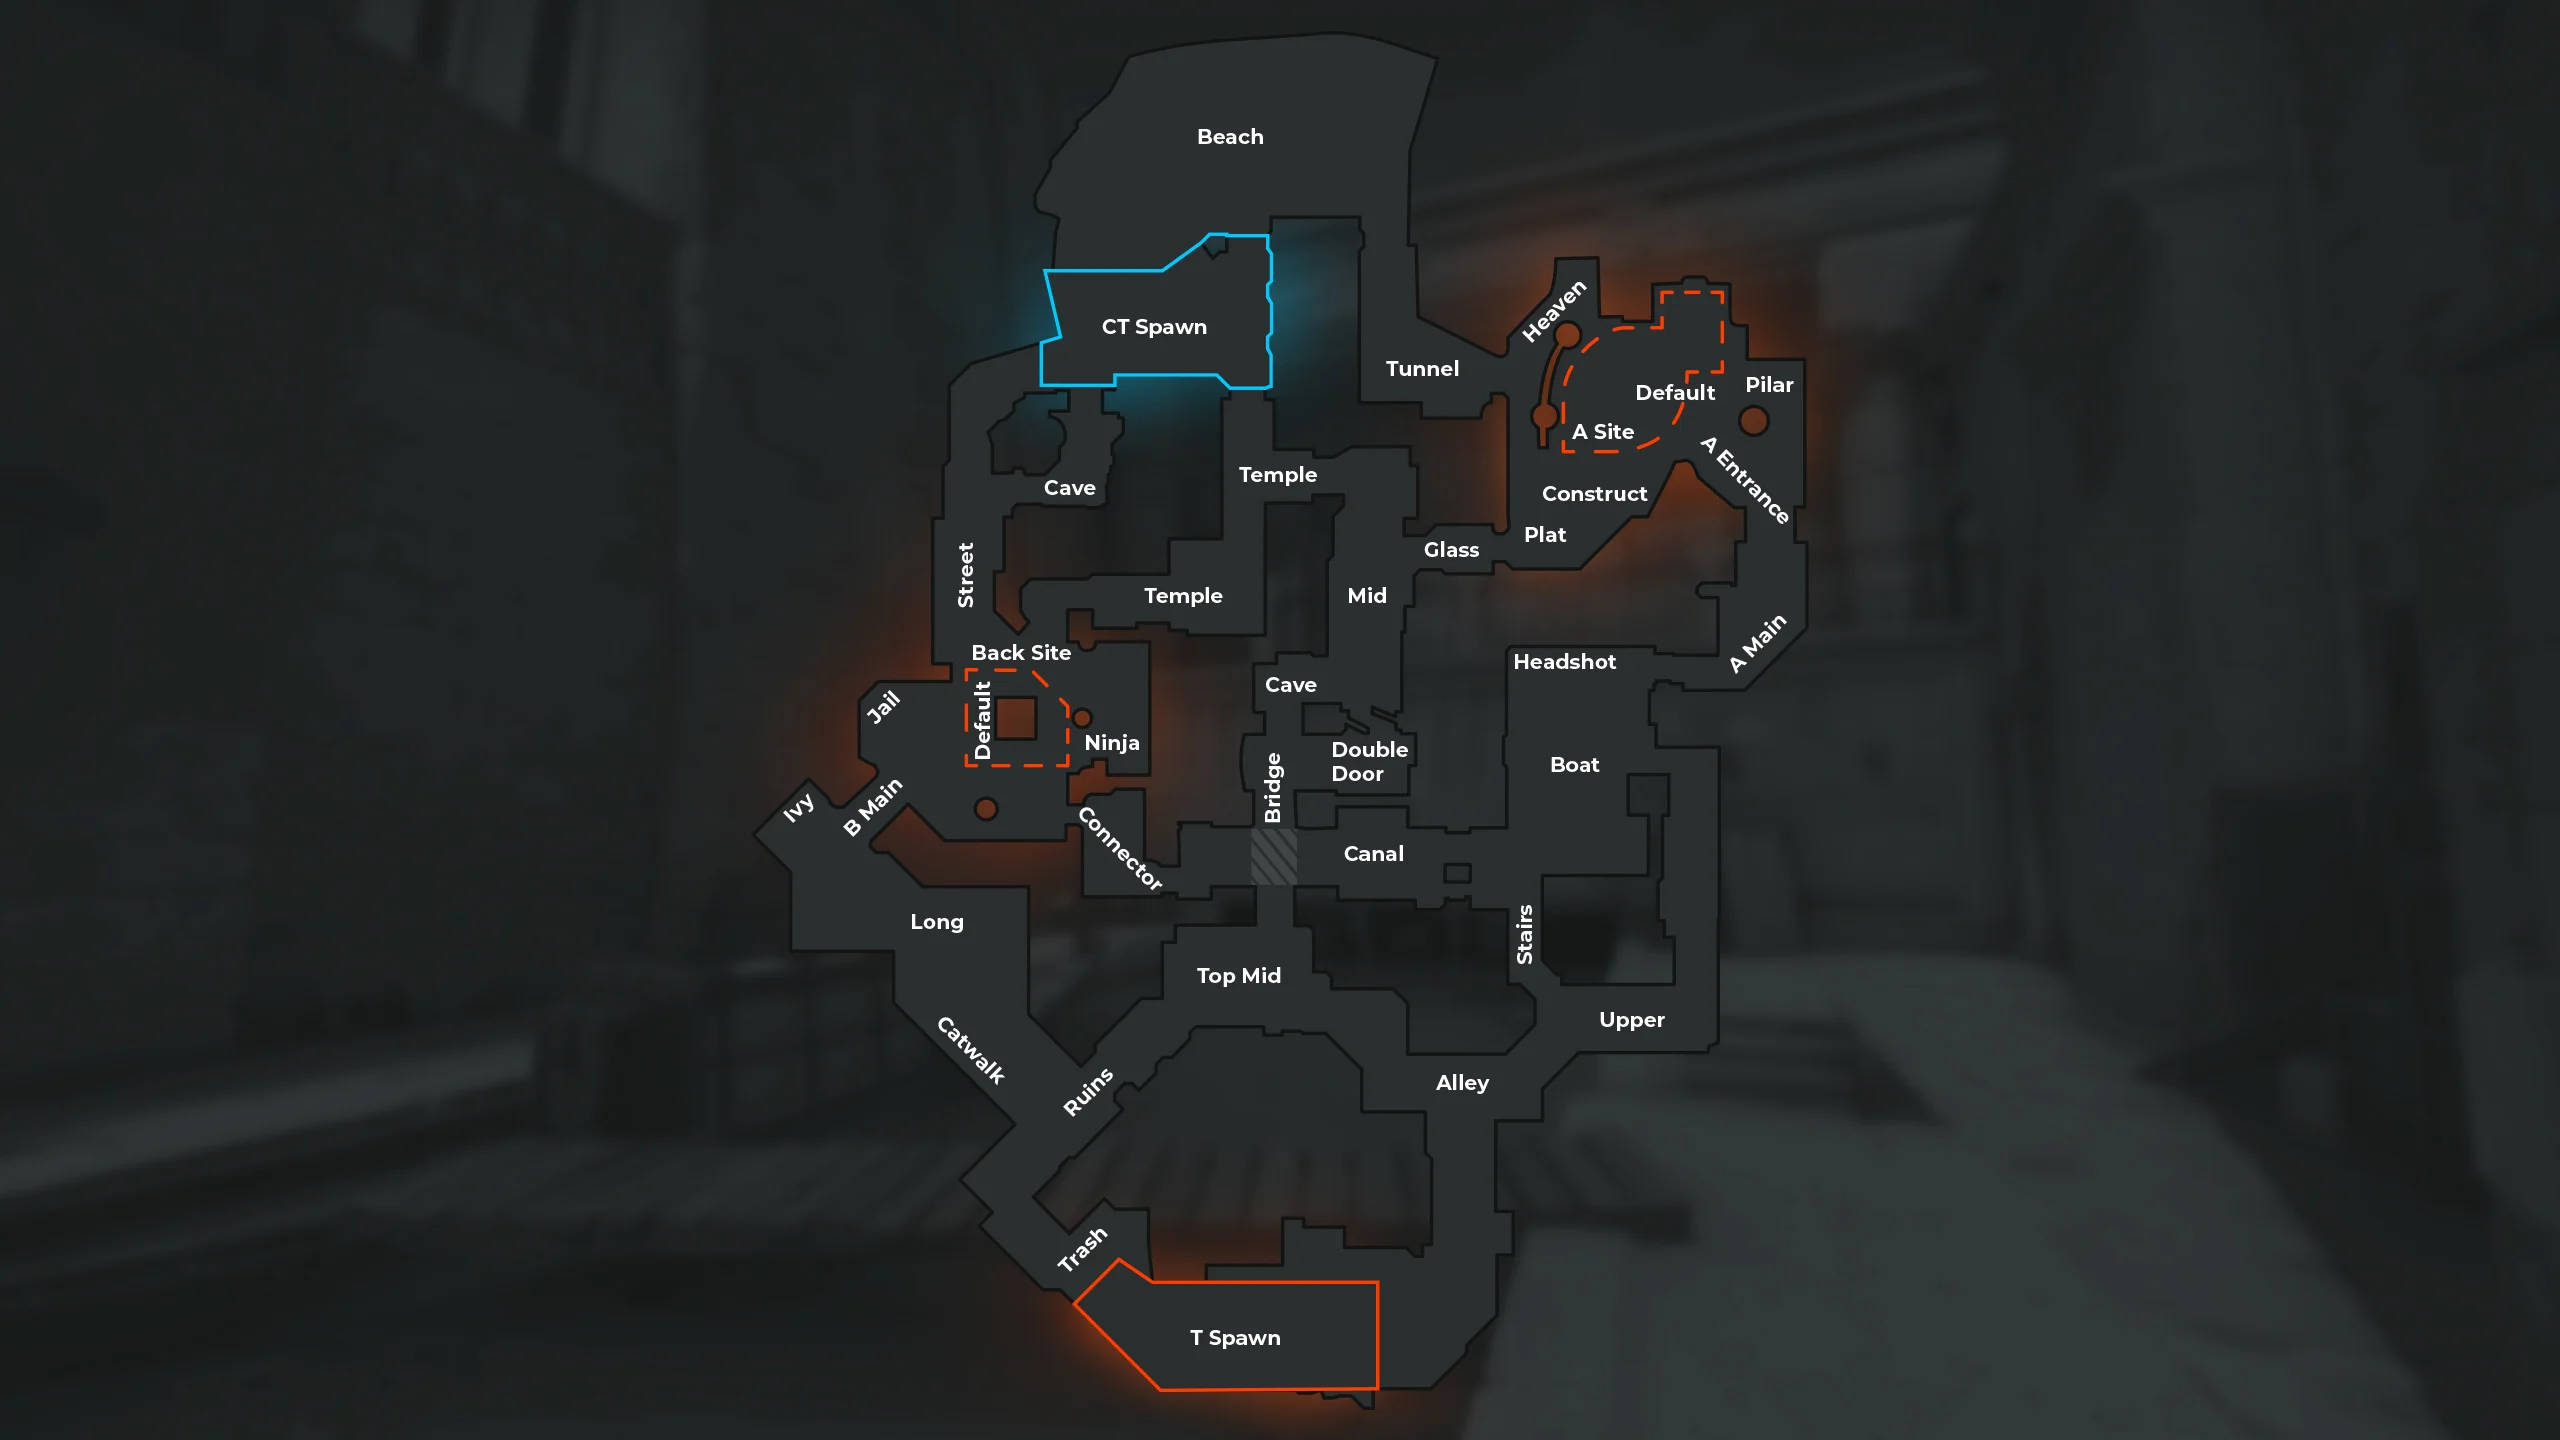
This map can be quite overwhelming at first sight. The shown map is designed to help you navigate through it and be able to provide precise callouts to your teammates. The following sections will provide a more detailed explanation of the subdivisions of the map.
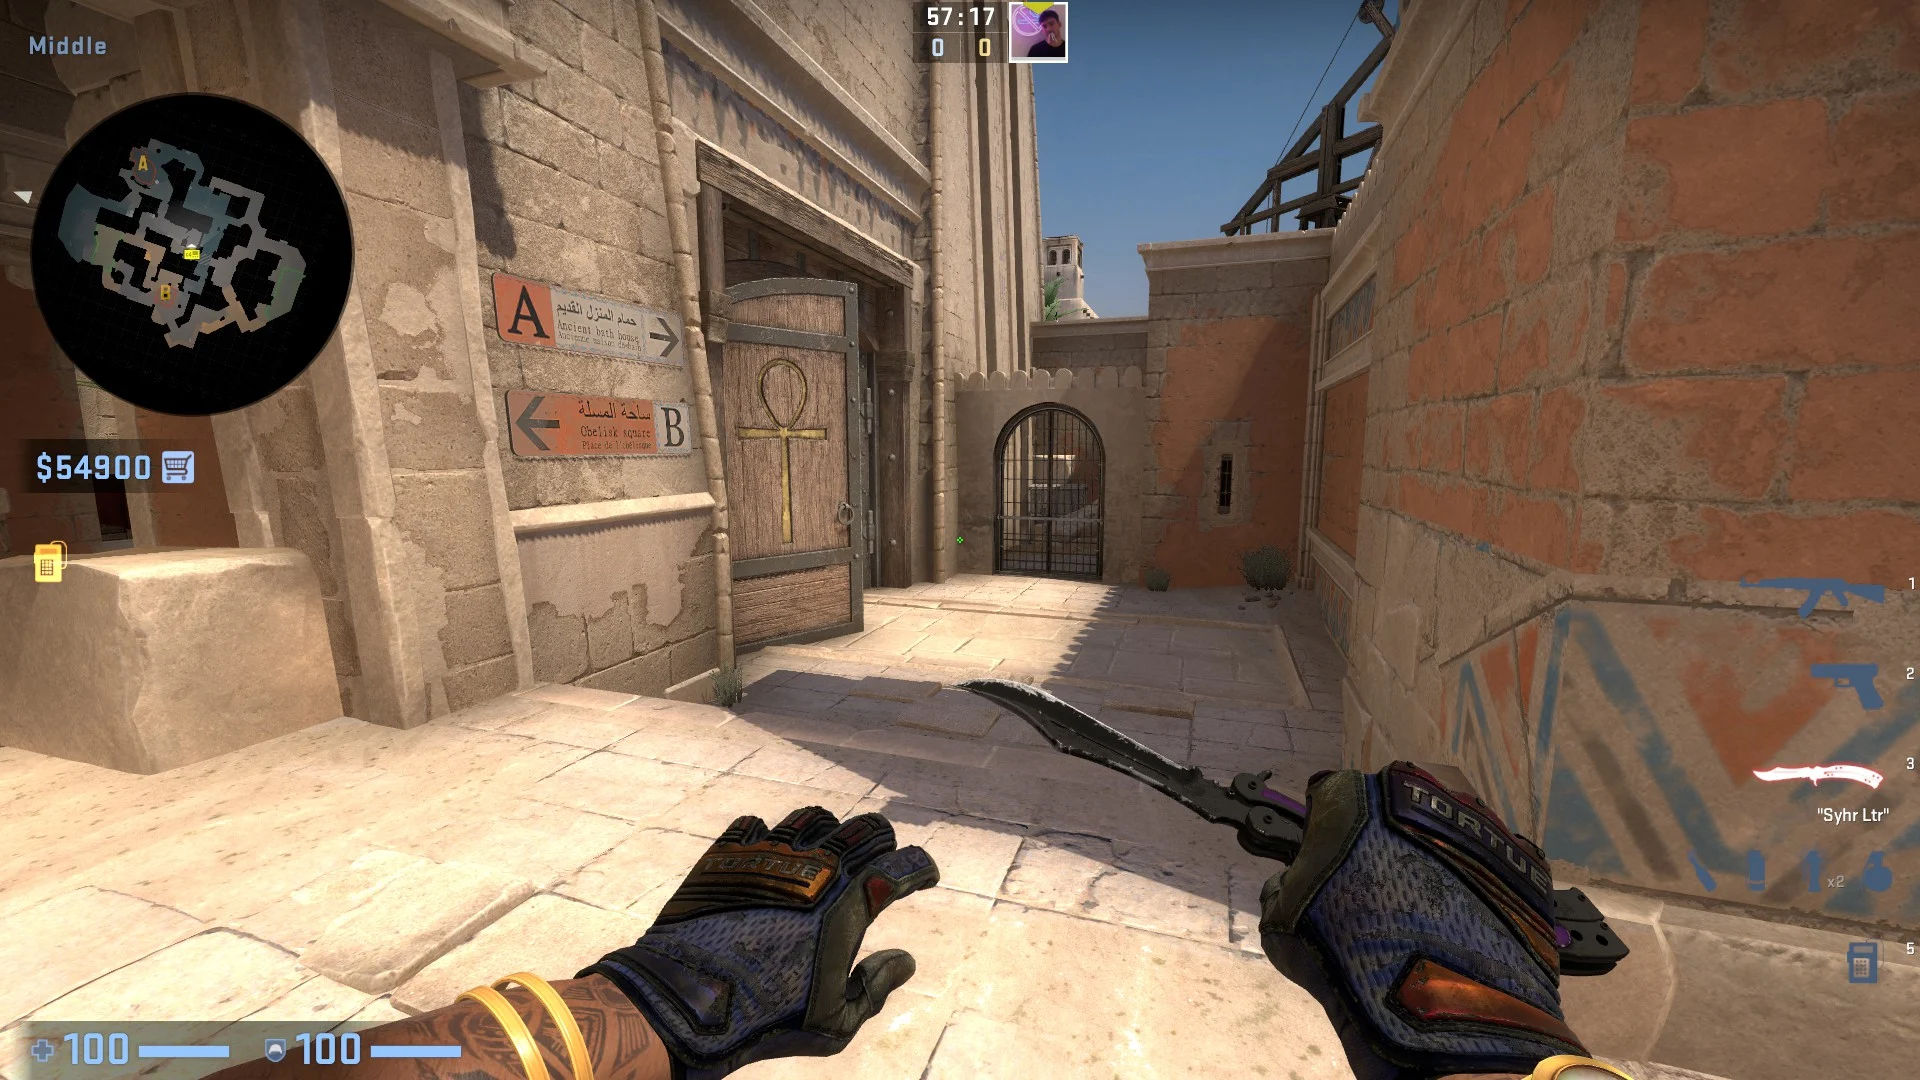
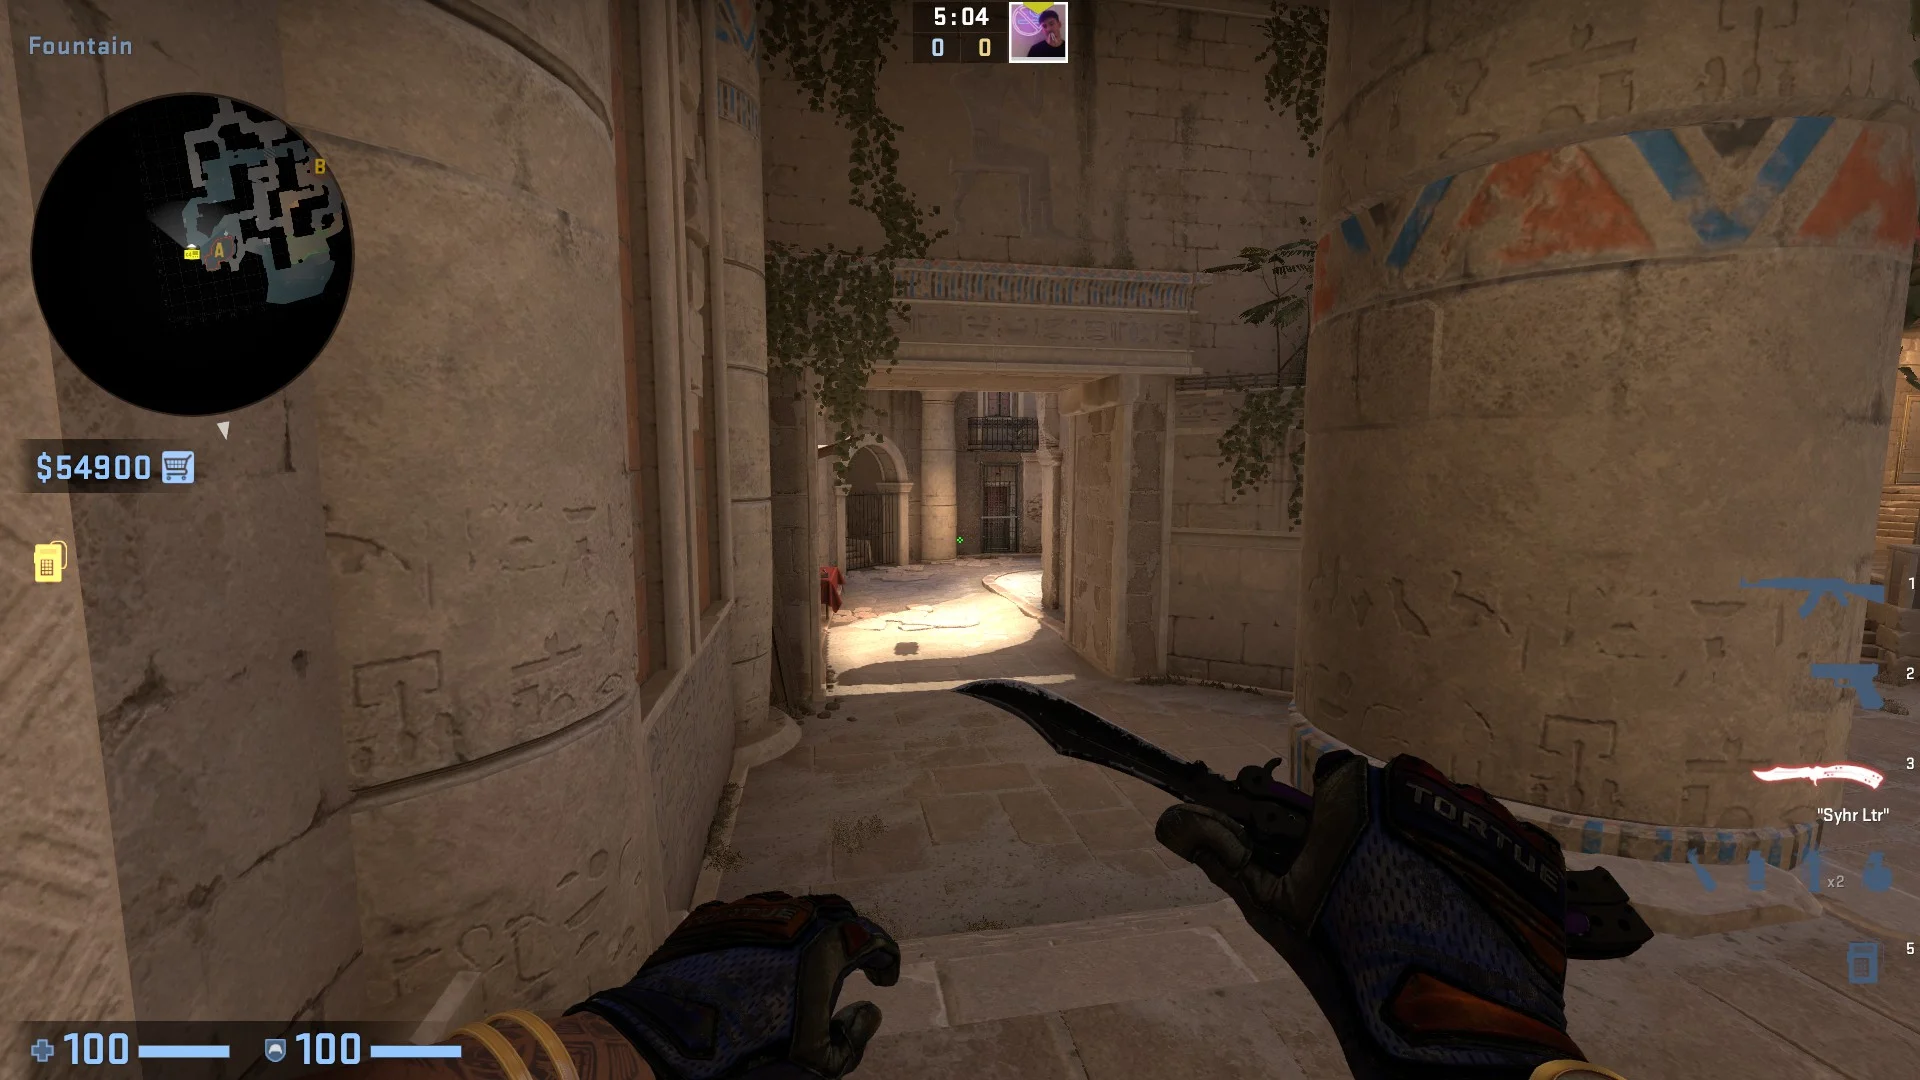
Mid
The mid-part of this map might be the most confusing at first with its sheer amount of pathways left and right.
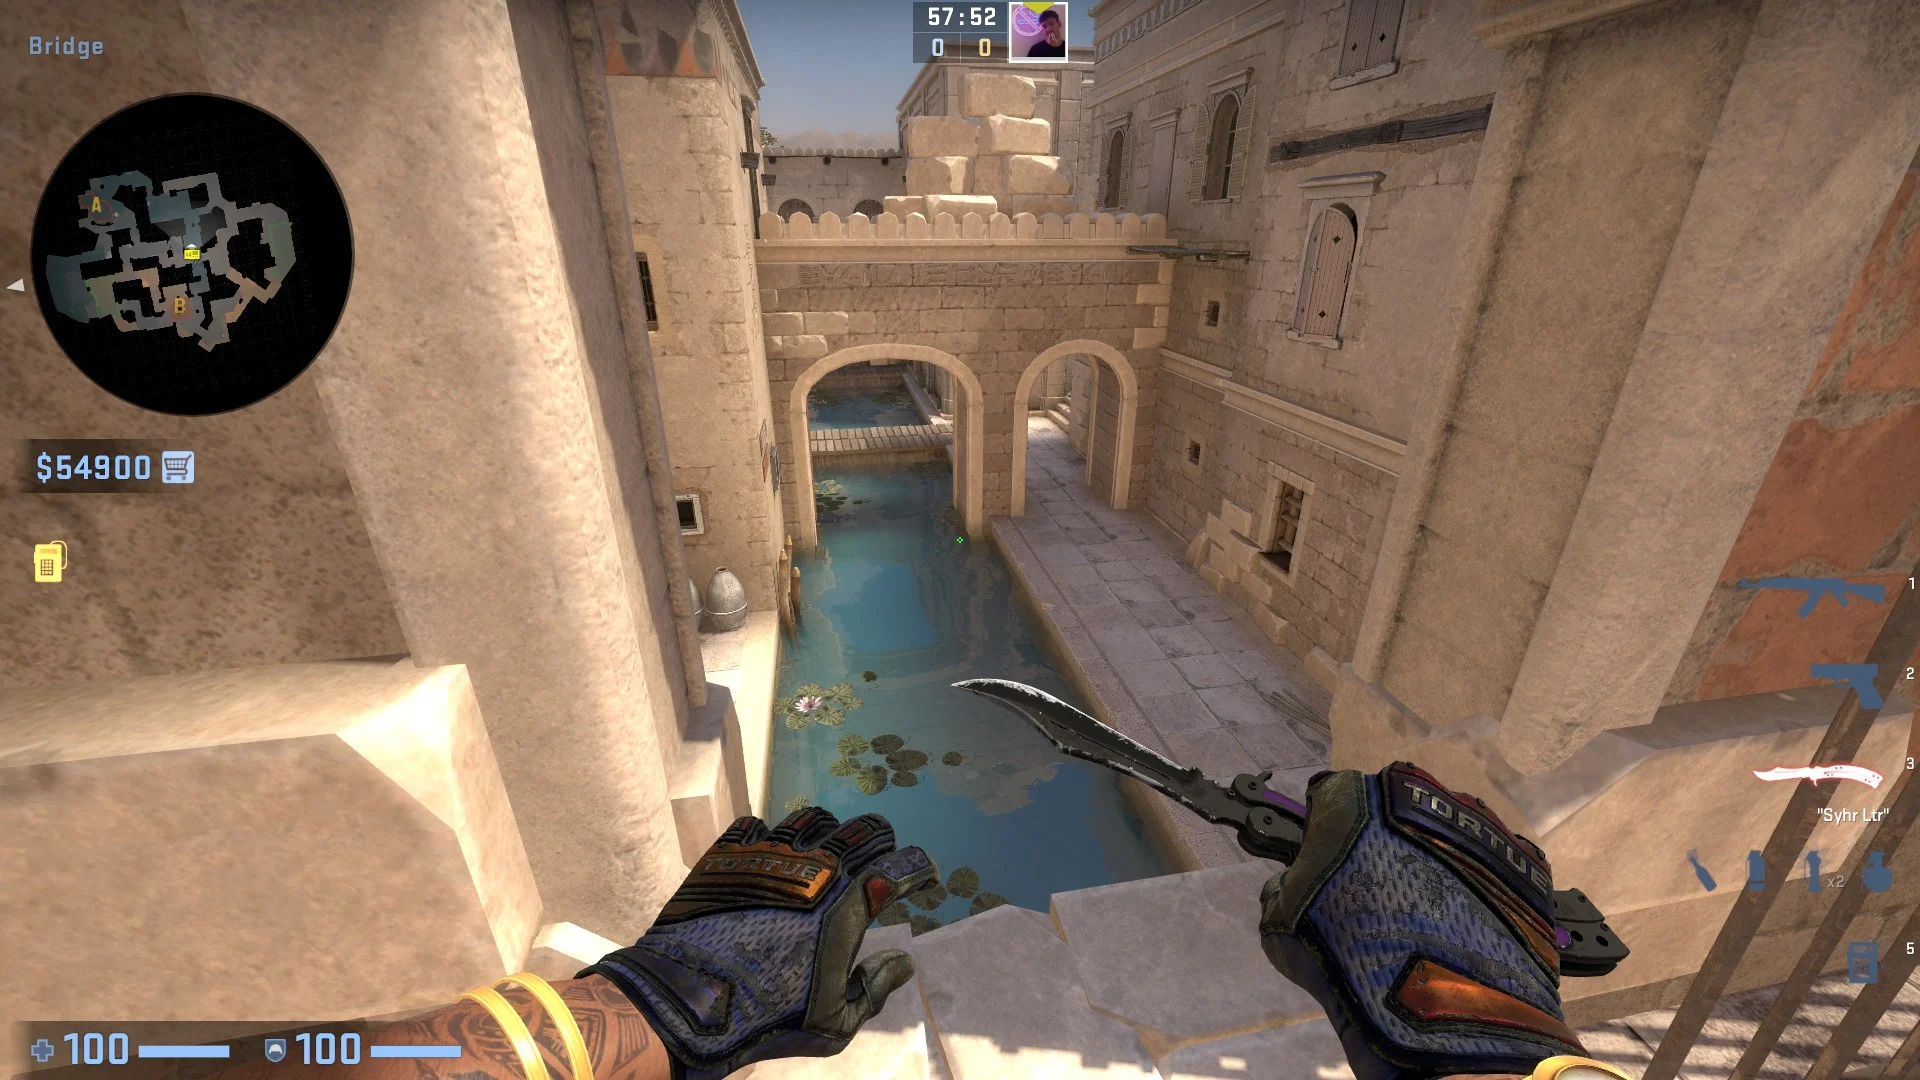
First of all you need to distinguish between "Bridge" and "Mid":
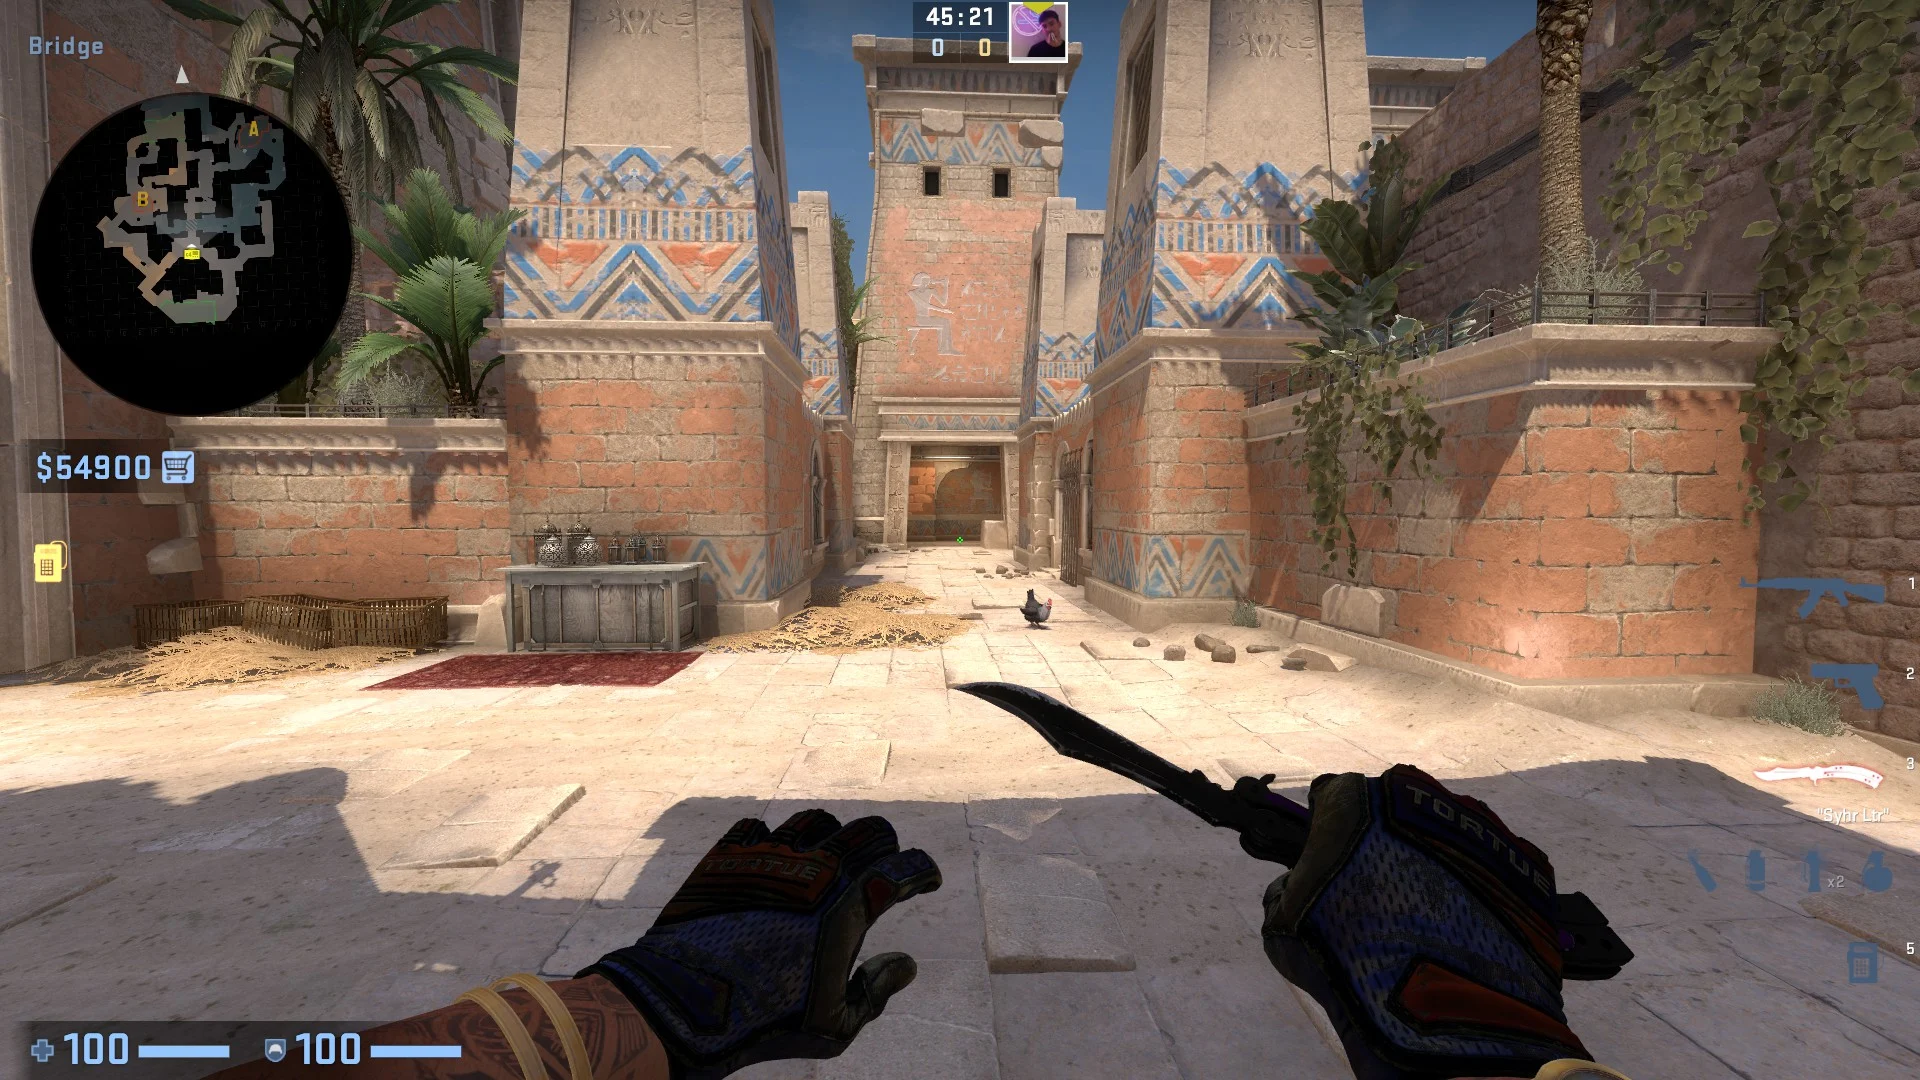
This is Bridge.
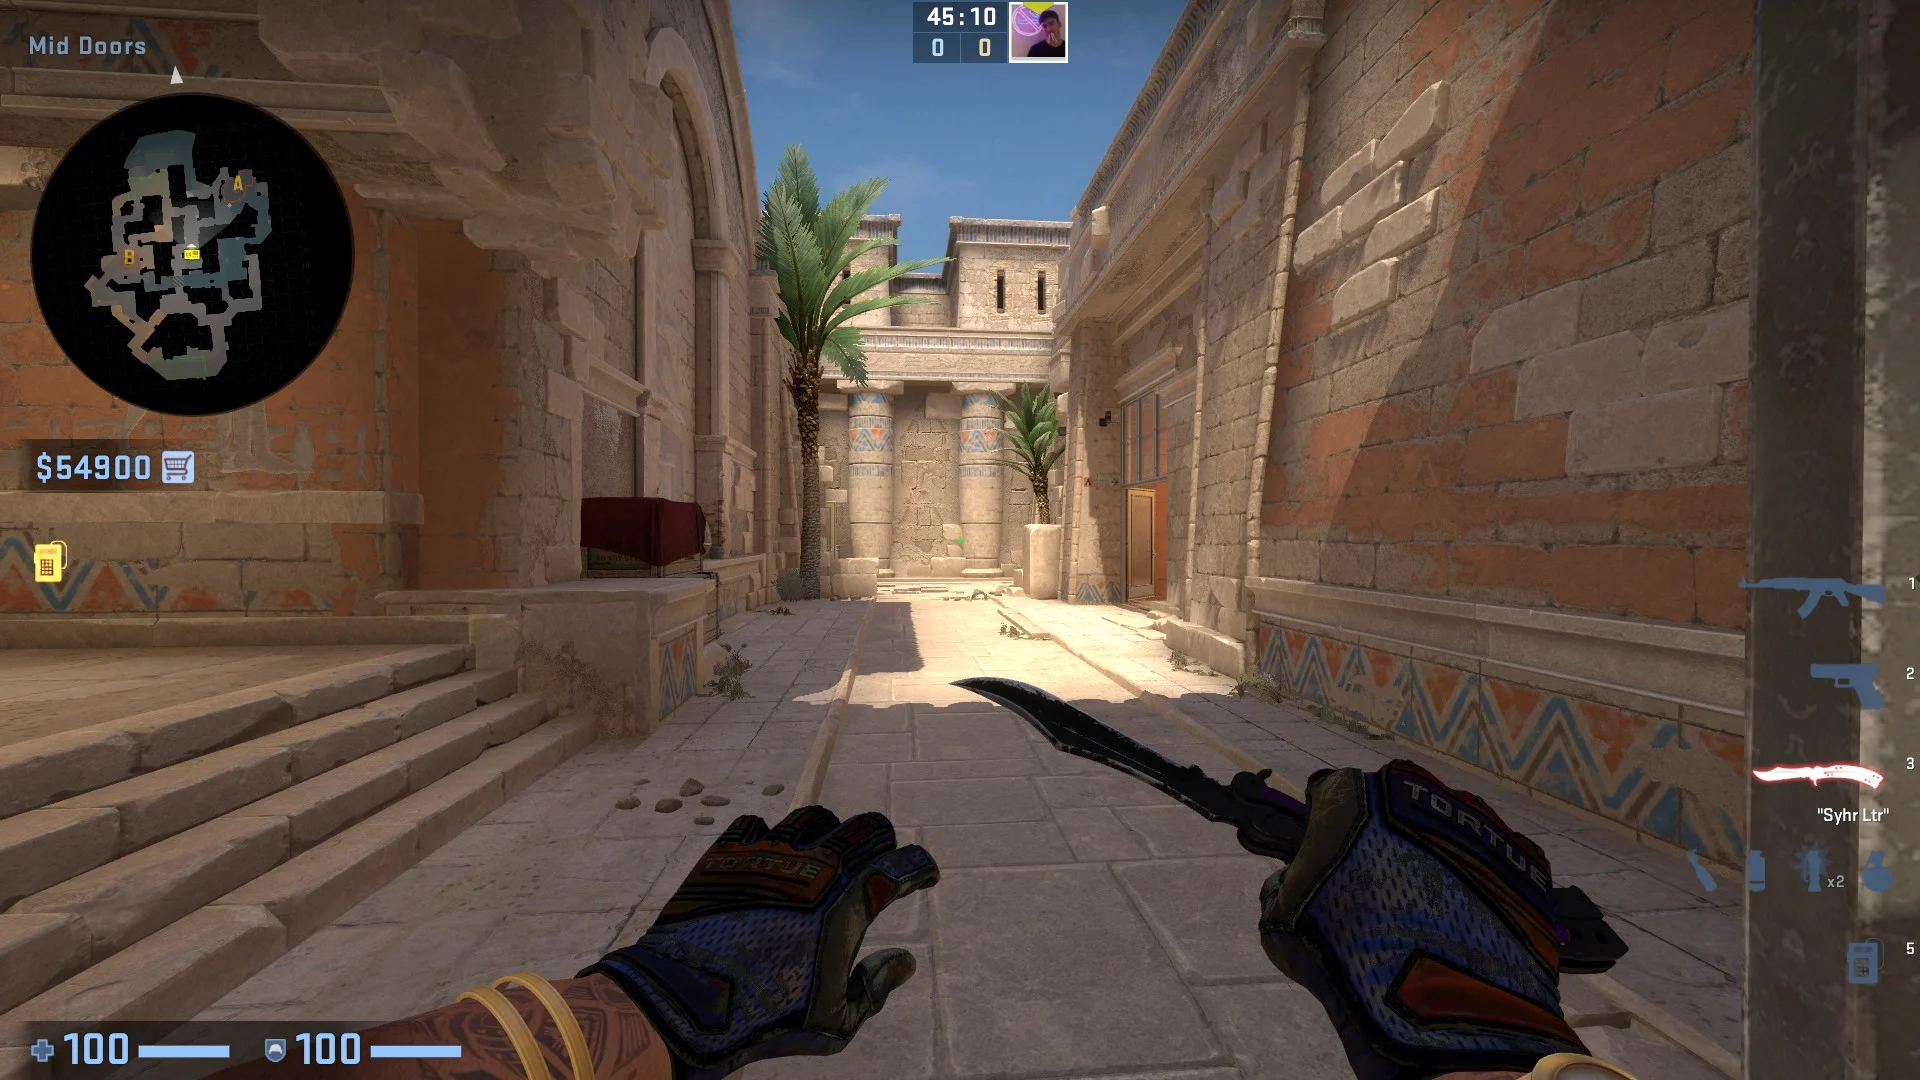
And this is Mid.
From Bridge you can drop down to the right to "Canal" or and from there you can walk left towards "Connector".
This is Canal.

This is Connector.
If you move further towards Mid, you can turn right towards "Double Door":
or move straight into "Cave":

From Cave you'll get towards the actual Mid, where you can turn right towards "Glass":

or turn left towards "Temple":
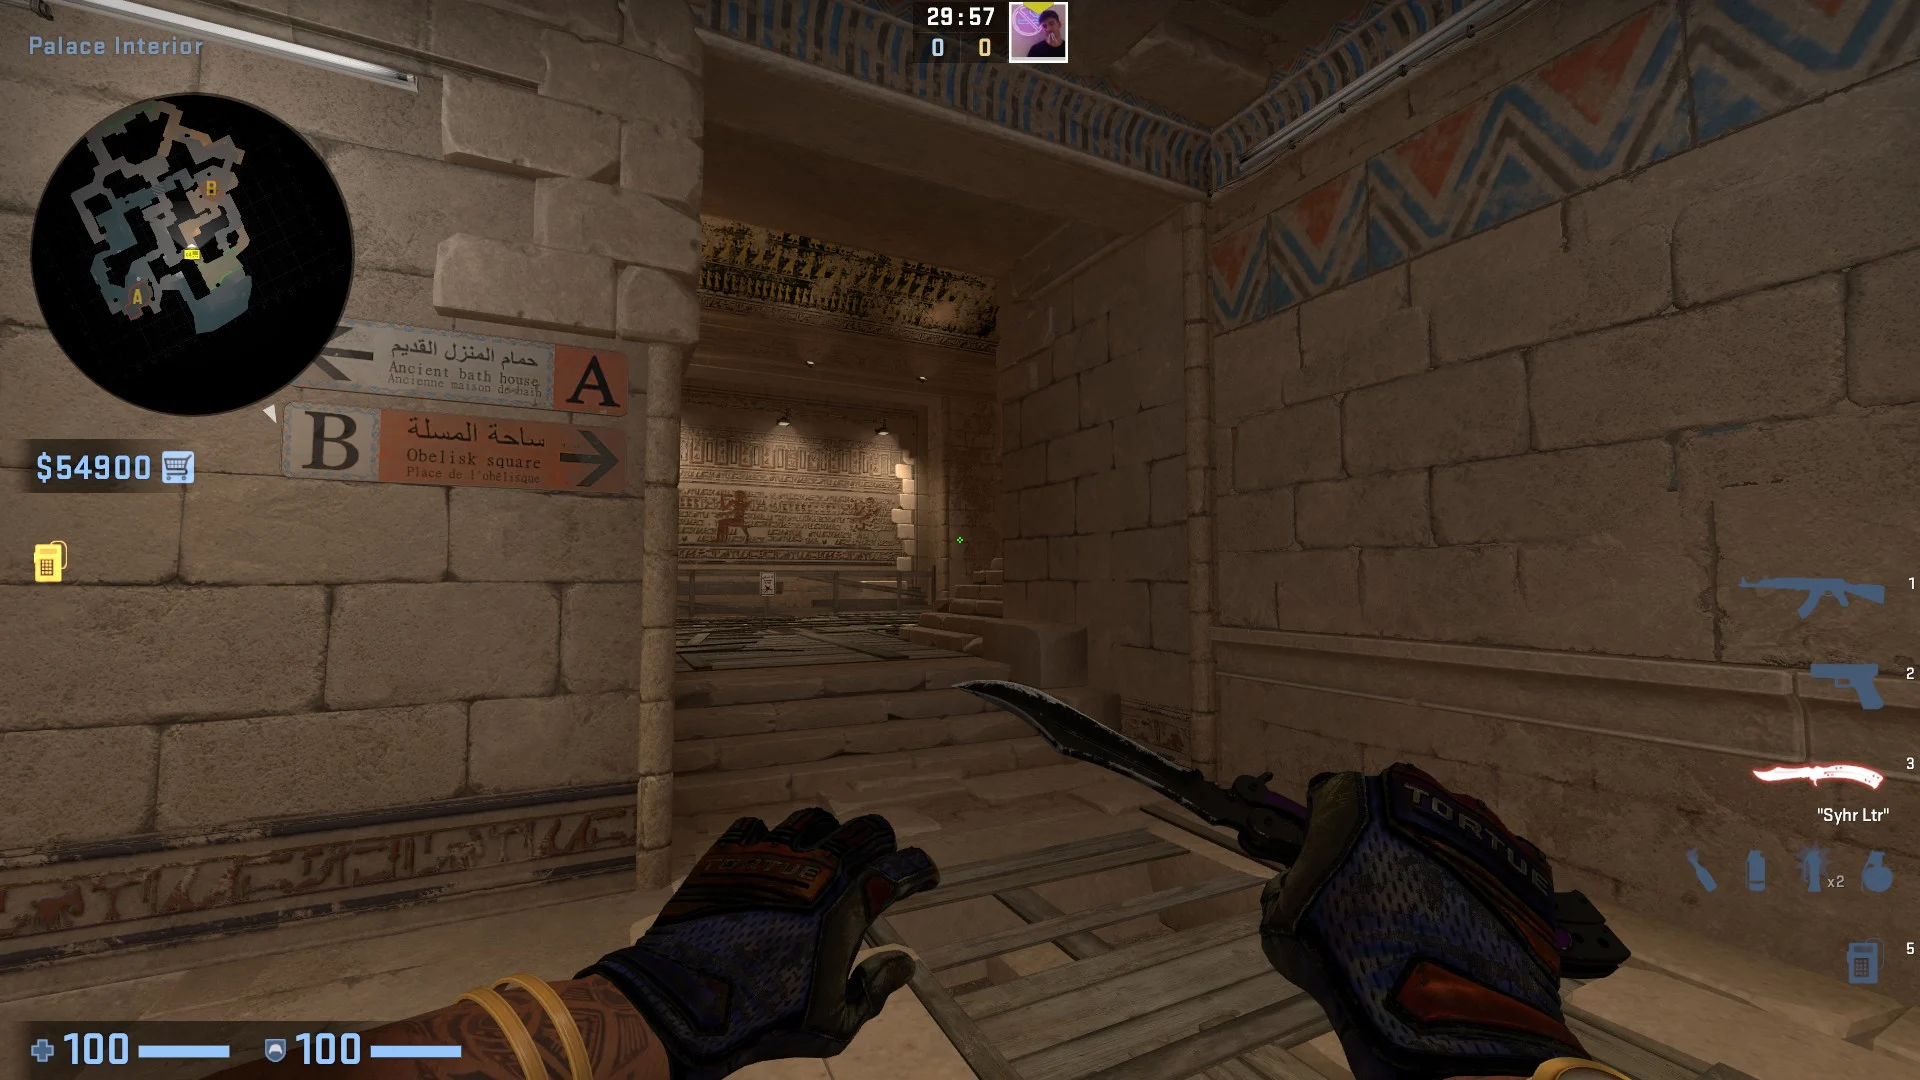
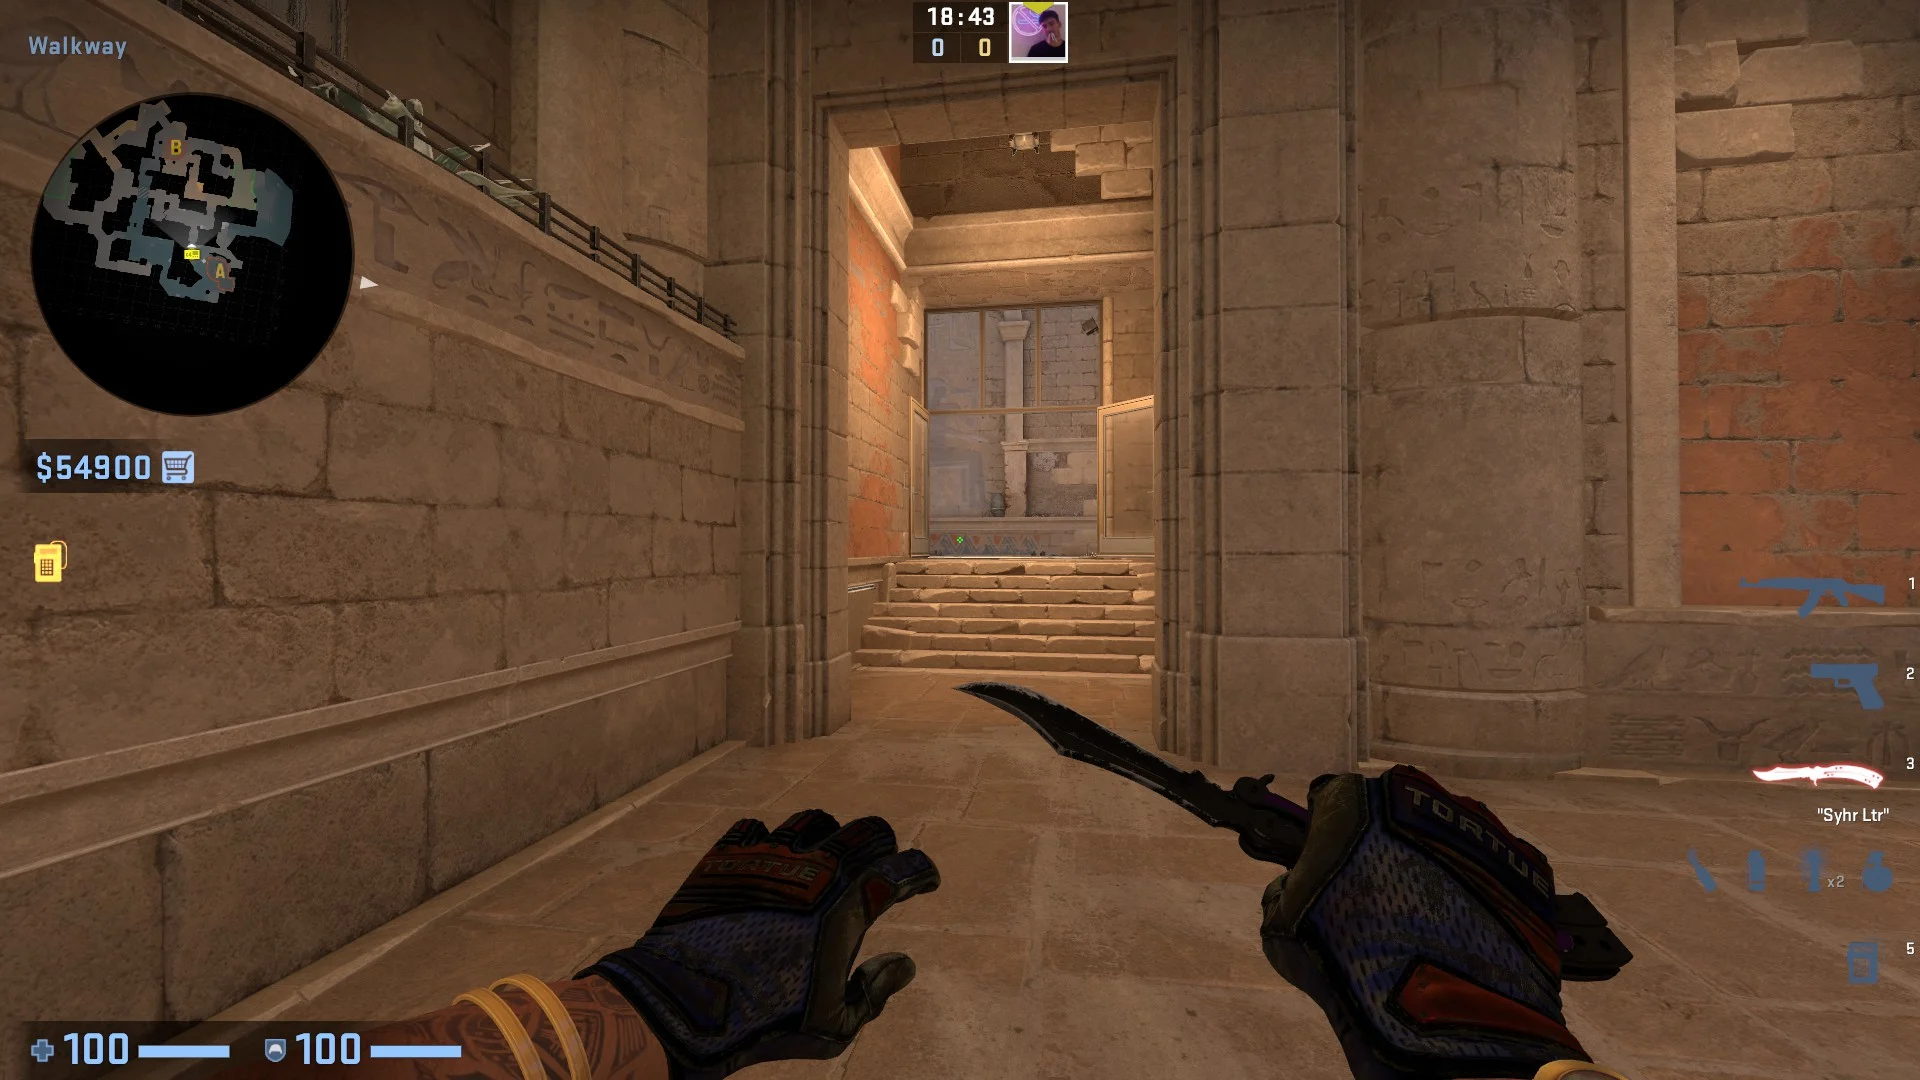
A-Site
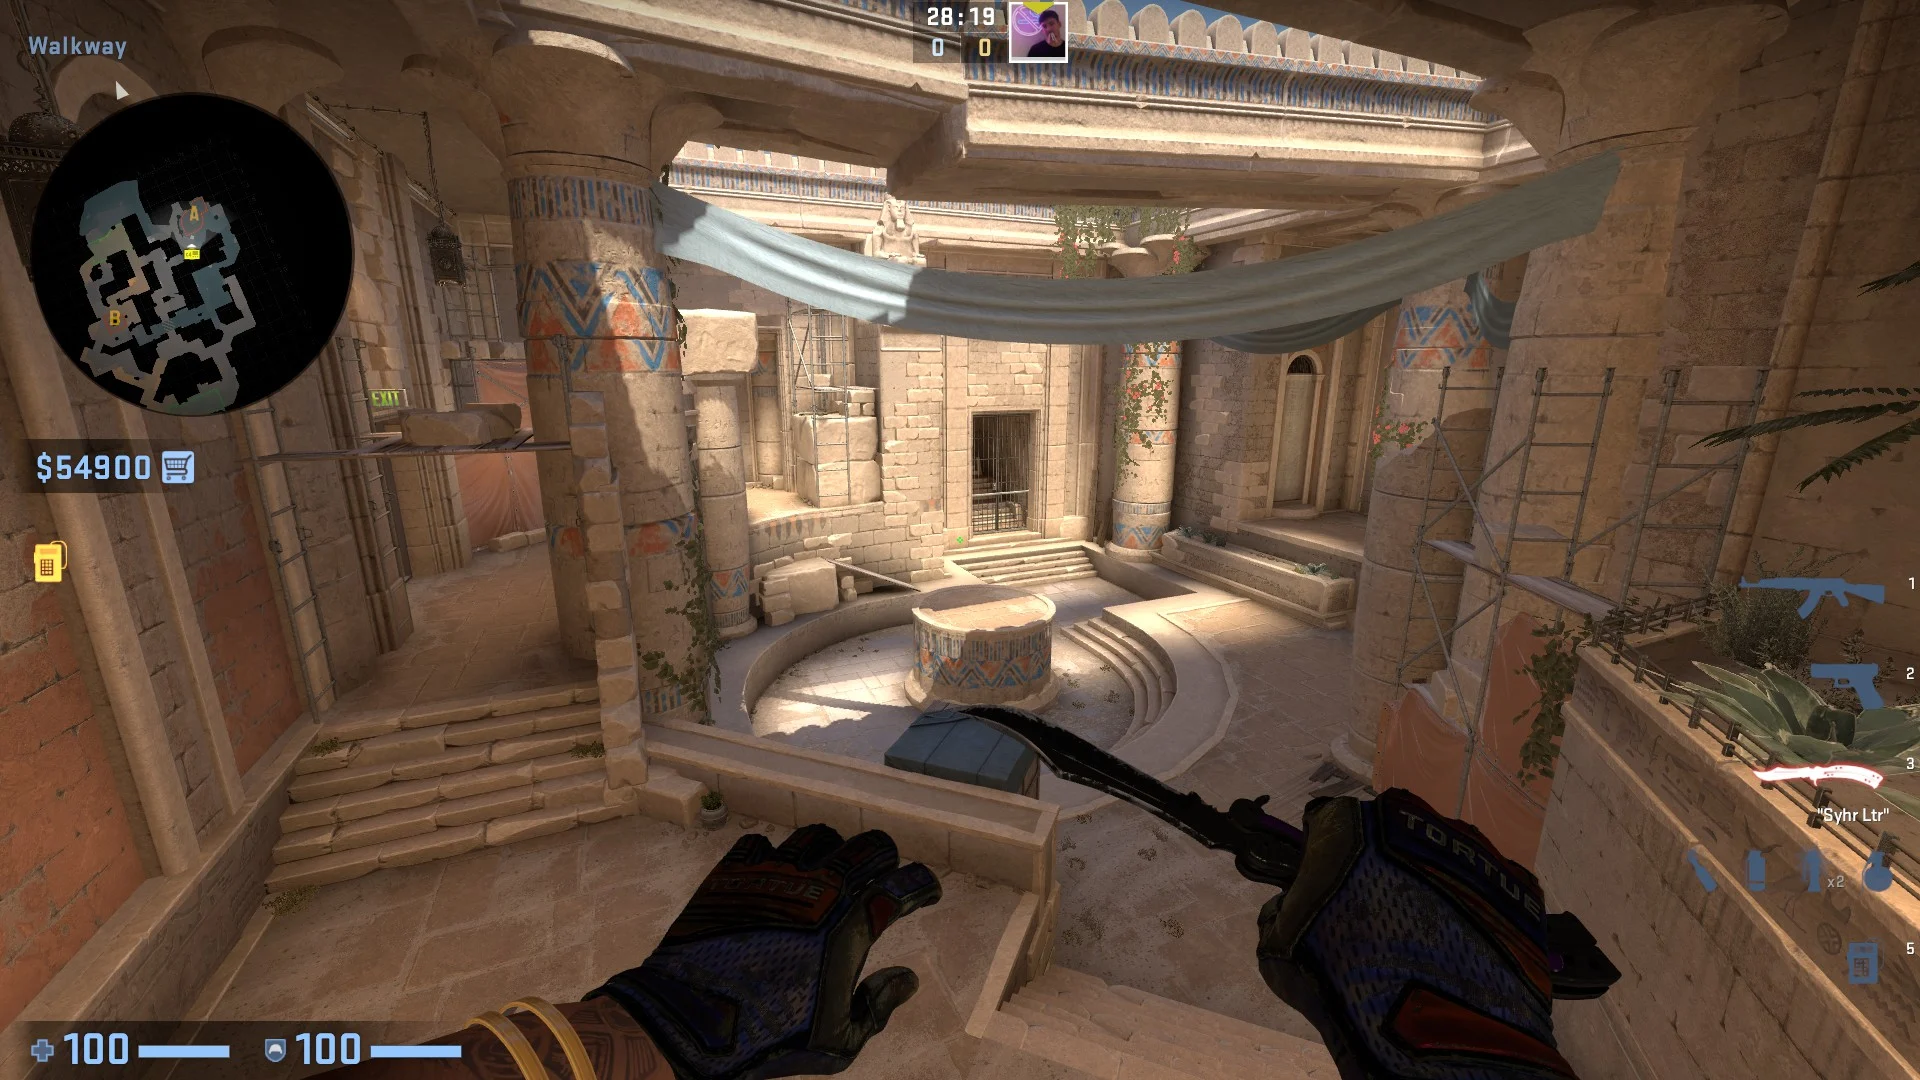
This section will cover the A-Site and all of its entrances for you.
You can enter the A-Site via "Tunnels":
via Glass:
or via the "A Main" section:
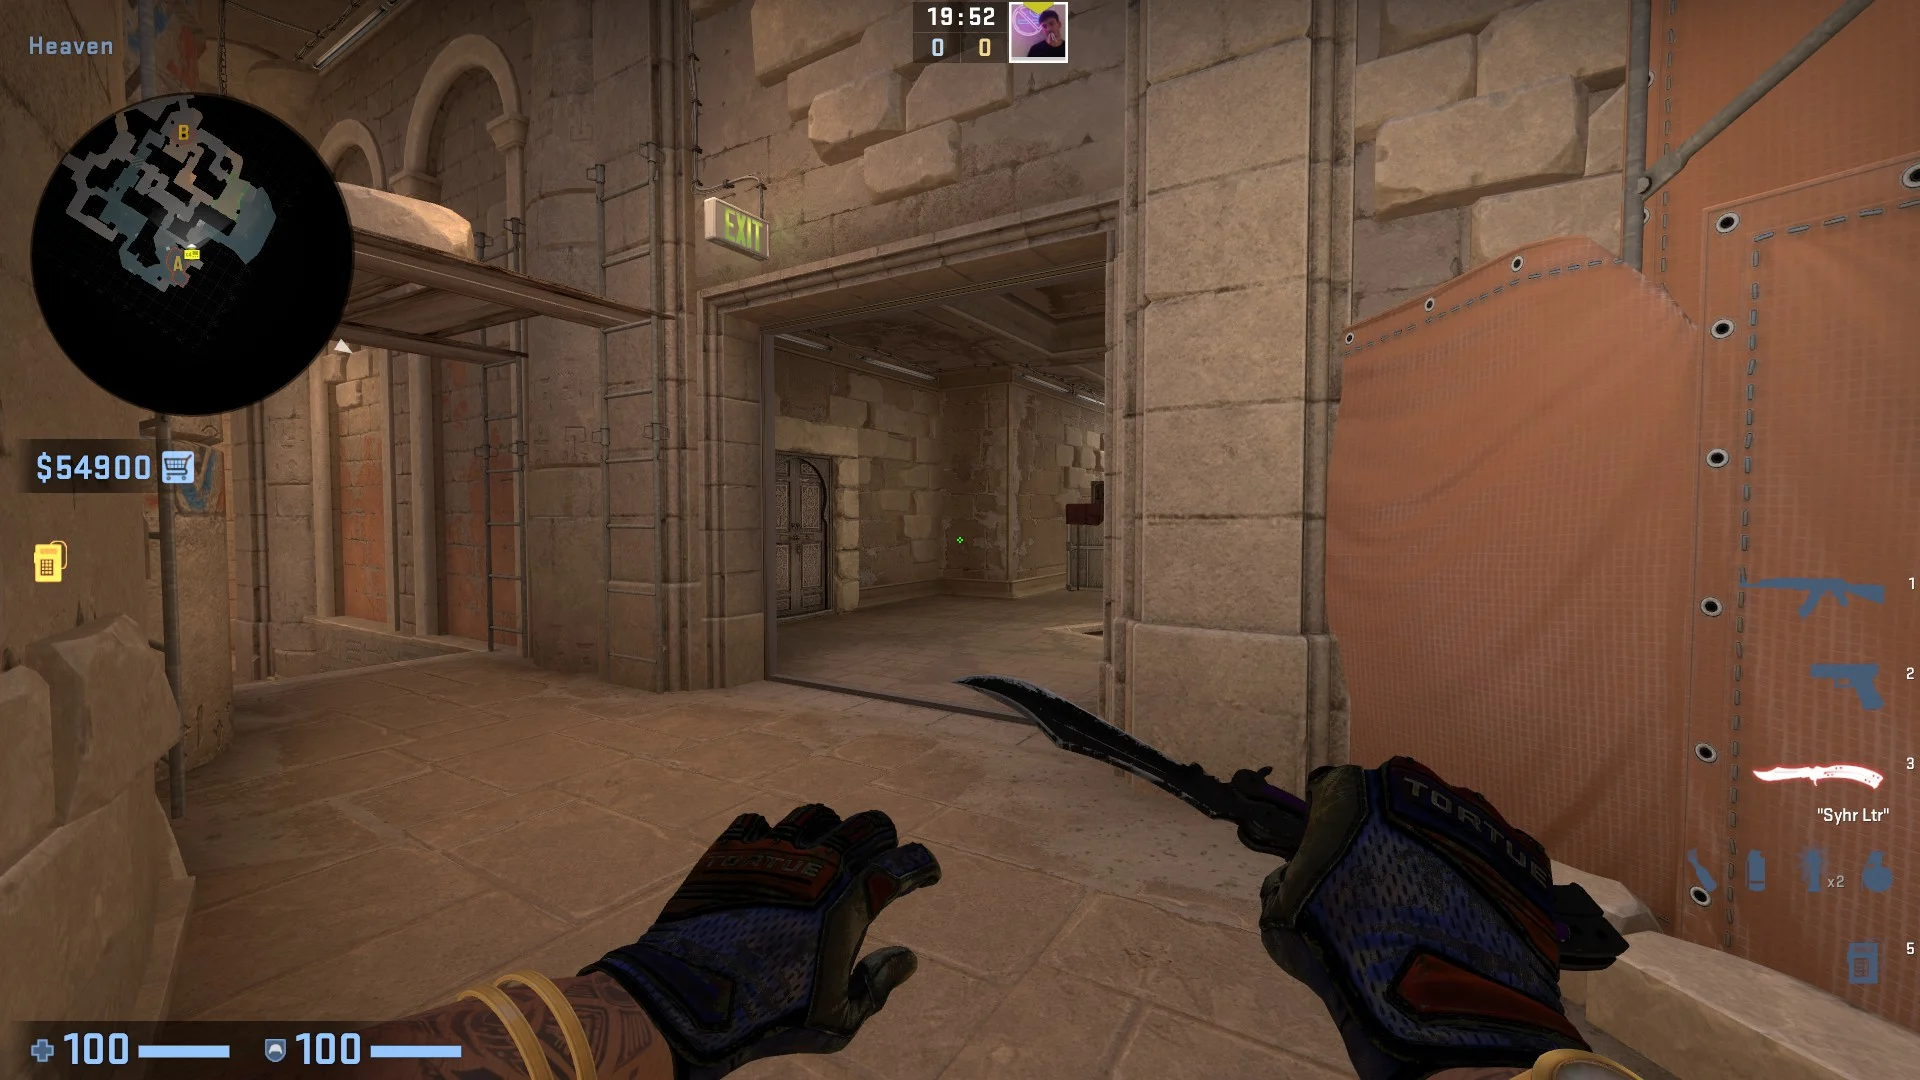
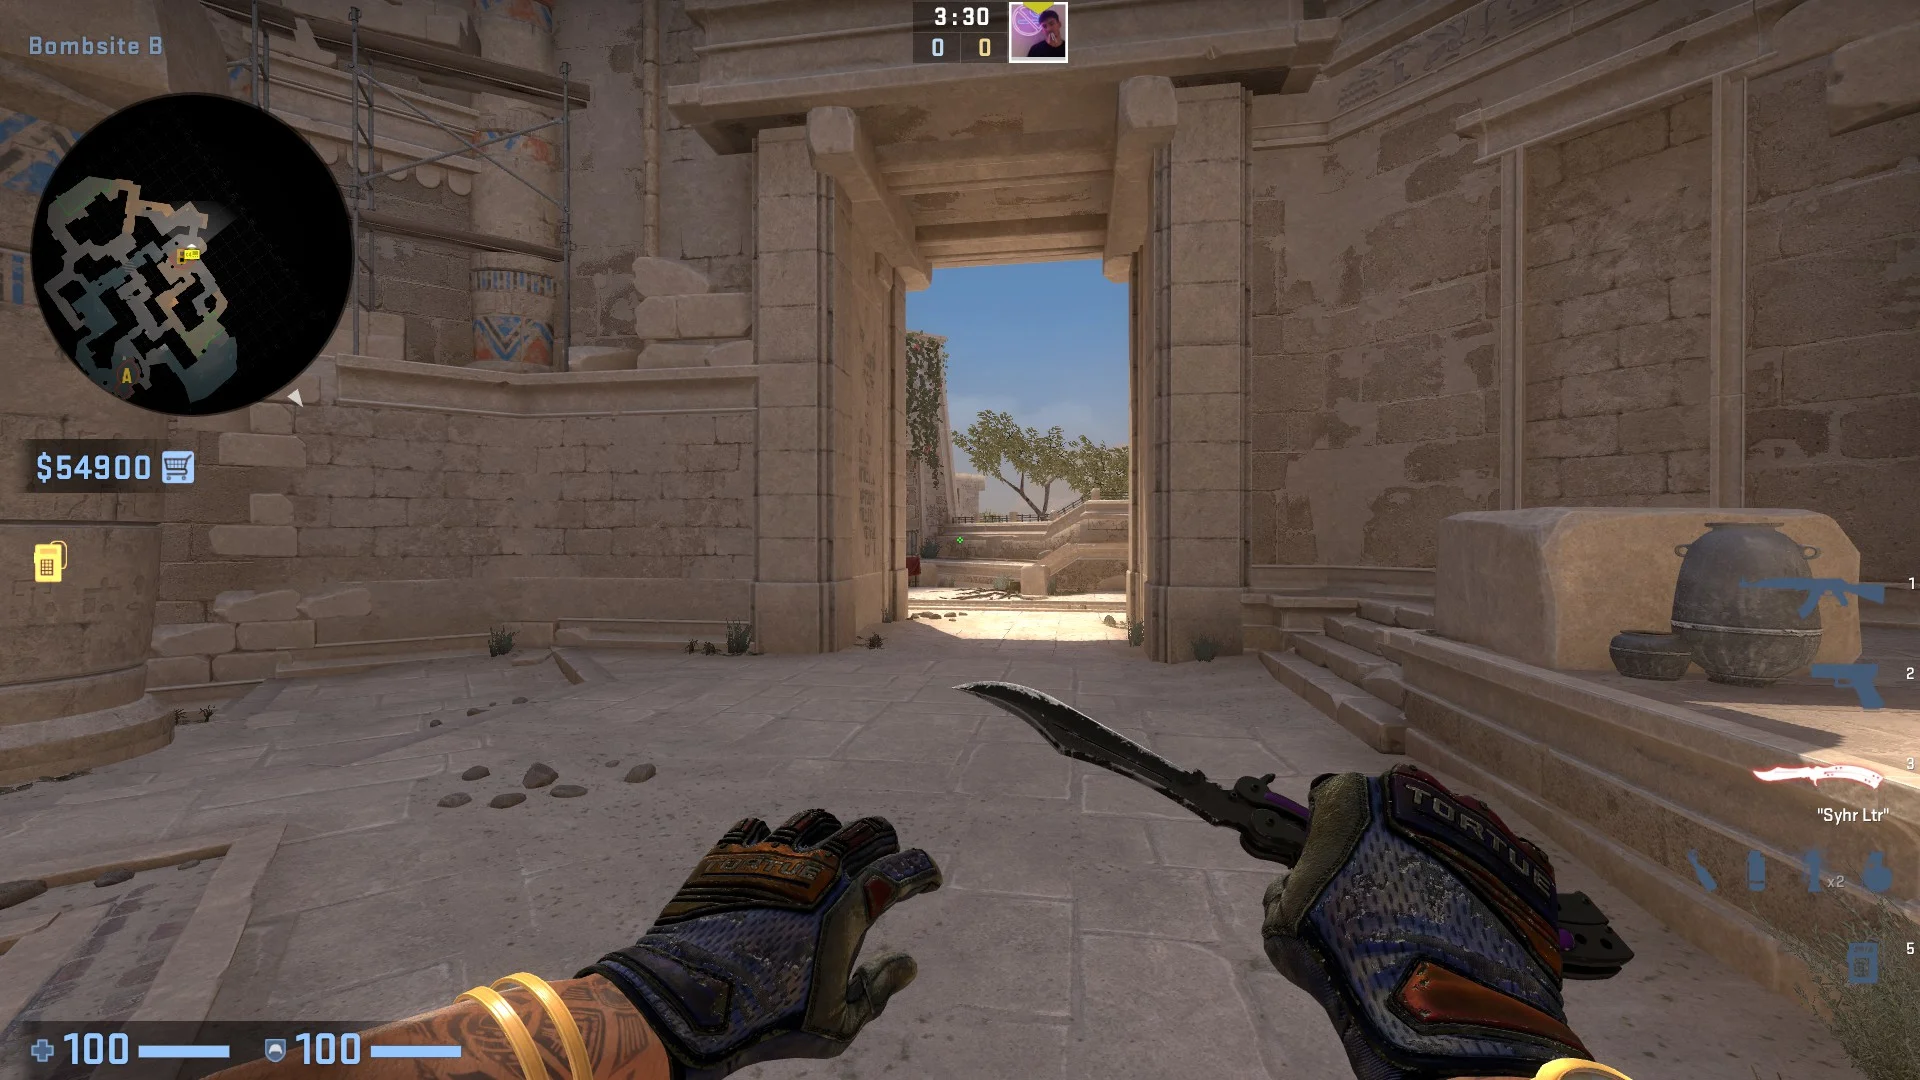
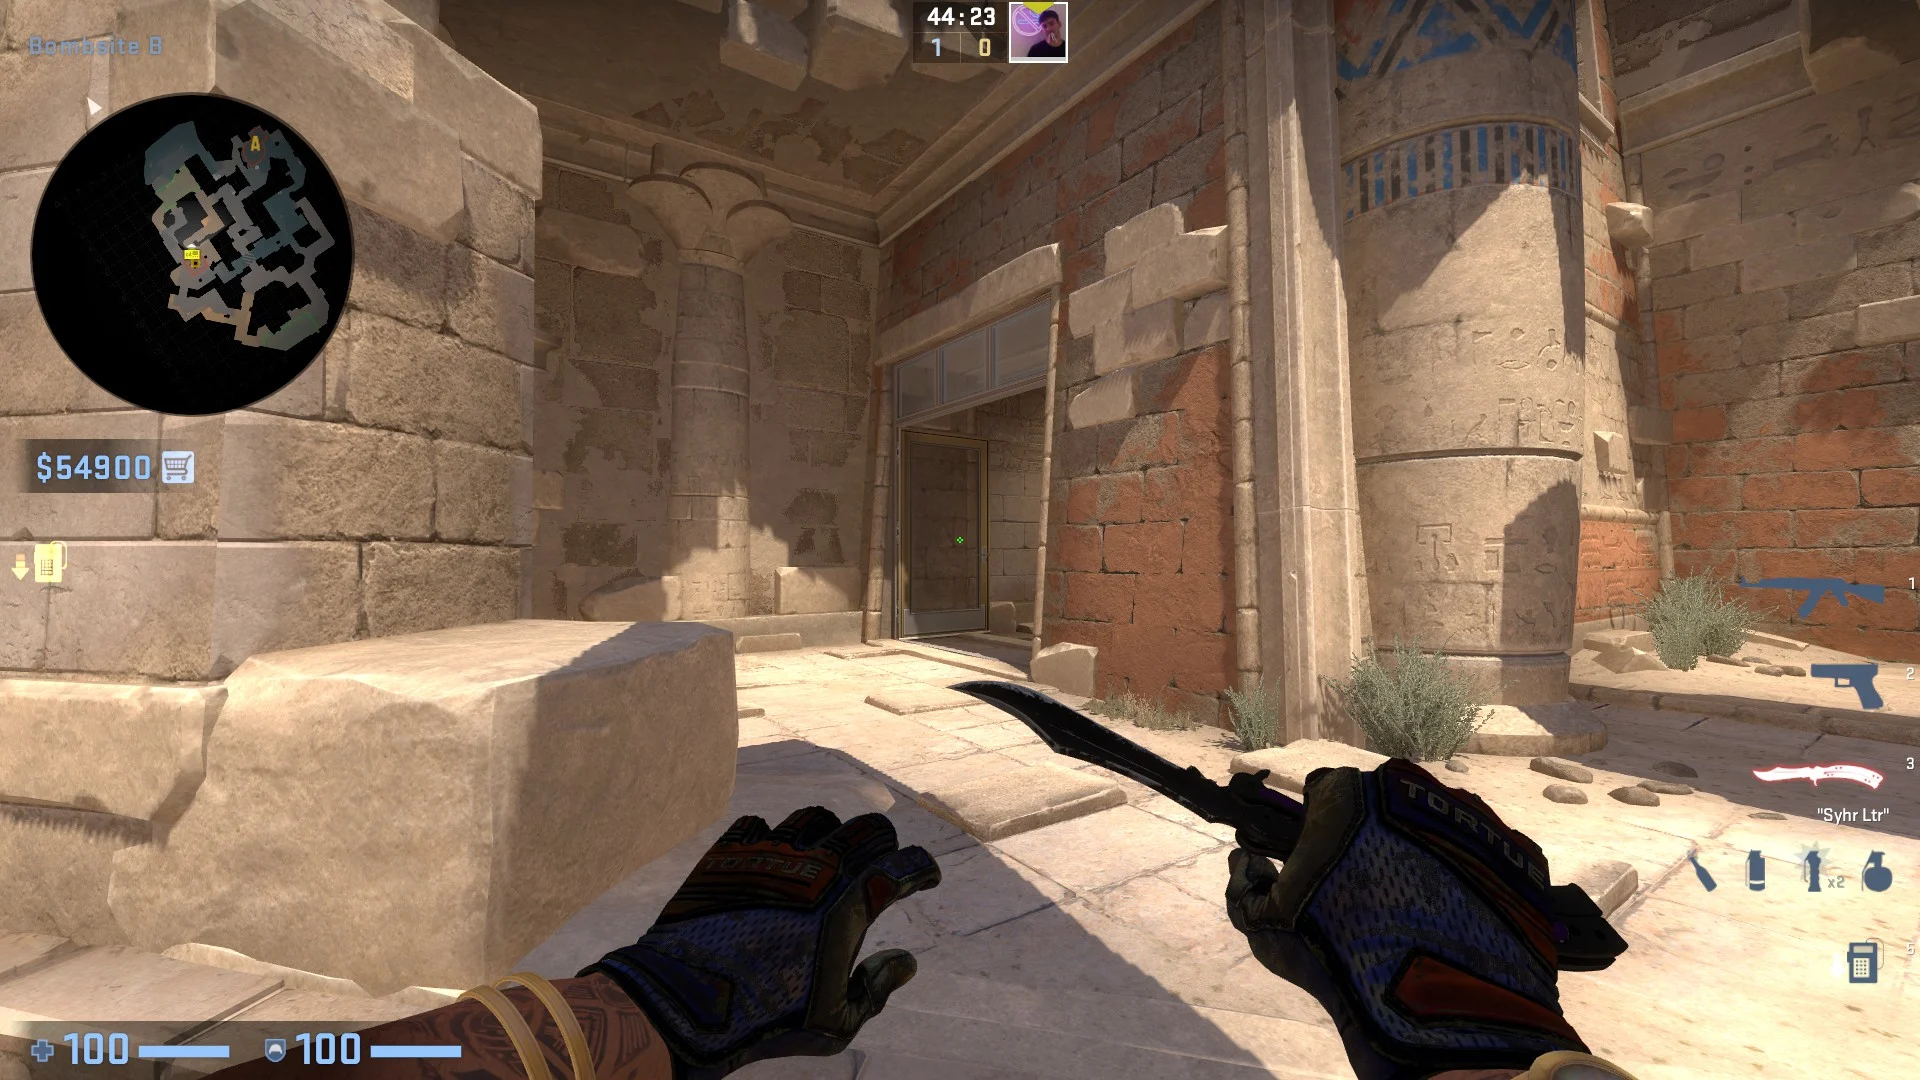
B-Site
This Section will provide insight on all of the entrances to B-Site on Anubis.
You can enter B-Site via "B Main":
via Connector:
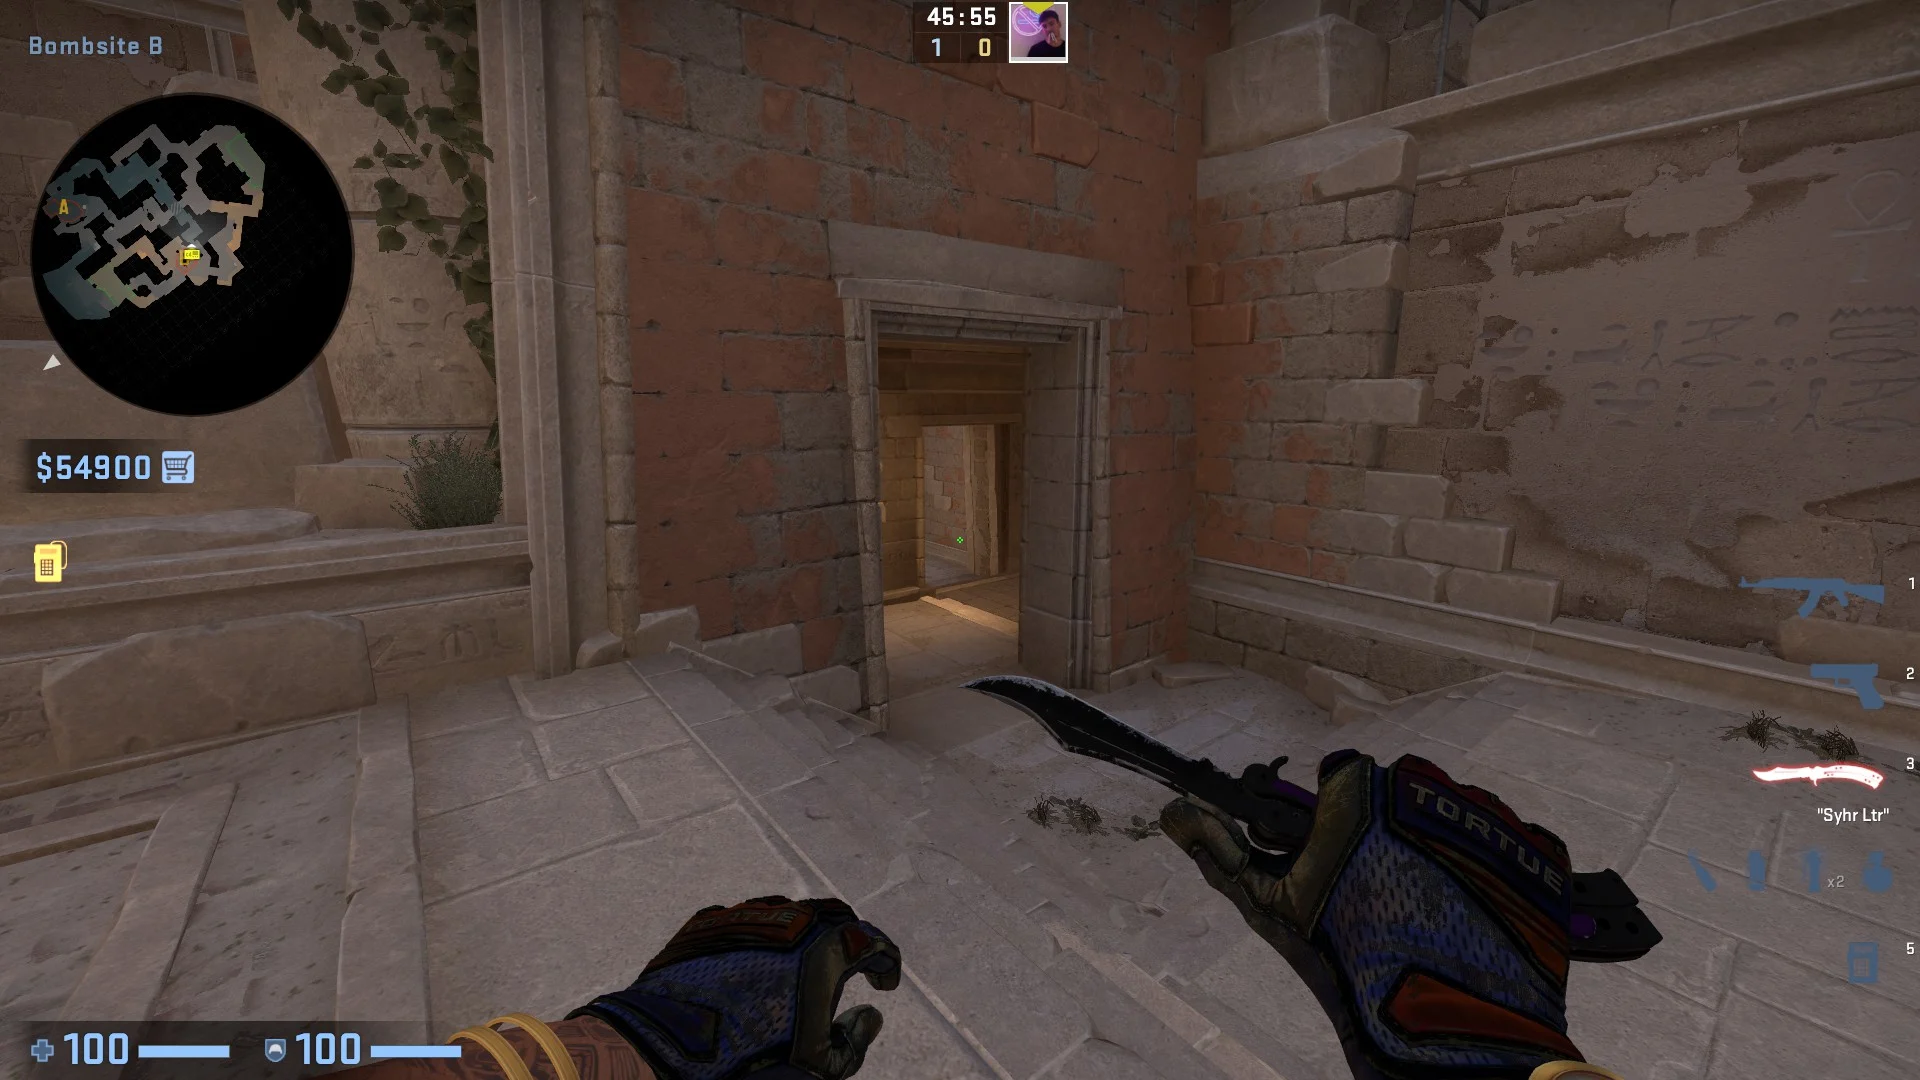
via Temple:
or via "Street":